Paper. String. Tape. Maybe some staples. So easy!
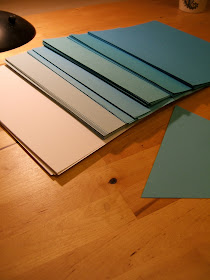
Ready to make some bunting? Gather these things:
- Paper (I chose 6 pieces of each shade of blue, in 6 colors)
- Scissors
- Paper Cutter (scissors are fine if you don't have one)
- Tape
- String
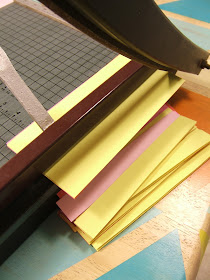
I used 6 of each, which made 12 triangles per string. Start by cutting the paper in half diagonally:
Then stack the two pieces, and line that triangle under the blade until you can see you have a nice & even triangle. No math behind this really, I eye-balled it and it worked.
Chop chop! Do this until you have all your triangles. Then, fold about half an inch down on the tops, as we need a spot for our string to sit.It's easiest to do these all at one time before you start:
I don't have a photo of this, but - trim the little overlap your fold just created, by following the triangles edge. Doesn't have to be perfect, it's only paper! Now just set the string in the fold, fold down and tape. I did NOT tape to the string itself, so that these could be slid on the string once I had them up.
Repeat that as many times as your heart desires, and hang them up!
Cut them. Assemble Them. Hang them.
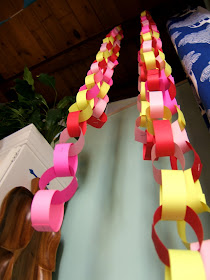
Then enjoy them! I wanted something festive since it was a Tamale party, but didn't want my decorations to be strictly Mexico themed (think chile peppers and sombreros) so I just went with very bright & fun colors that reminded me of all the colors I saw around Mexico. It needed something, and Ralph added the perfect detail (sadly we didn't make him):
I love our little donkey! He survived the party too, luckily no one wanted to take him out back and beat the candy out of him. Which I was happy about because 1) he's adorbies and 2) I didn't fill him with candy. oops!
Hope you enjoyed the quick tutorial, these are super simple and create a nice impact - try them out for your next big bash, and take lots of pictures! Here are some from our Tamale experience, compliments of mi madre (thanks!) since my hands were covered in meat & masa the entire. time.
Gracias y adios amigos!
Related Party Posts:
- Pinterest Picks: Paper Chains
- High Rise Snacking
- Jello makes the world go round
- Even More DIY Party Decor


It was a fantastic party! Loved the decorations and the tamales, too-yummy!Glad you liked my photos-and to be the designated photographer.:)
ReplyDeleteIf you imagine a get together, typically the first thing that pops into your head are the decorations. Good thing this informative article gives a good deal concerning party decorations as a reference.
ReplyDelete