Google+ Nine Red: April 2011

Thursday, April 28, 2011

How To: String Wall Art

How lucky am I? Recently I posted about string art, and it got my mind so wrapped around it (no pun intended!) that my goal that night was to hopefully convince Ralph that he needed it in his room.  It wasn't that hard really, he had already seen the post & the pictures and loved it, I just had to put the hammer to the nail - ha, ha - get it? hammer to the nail...  I'm full of 'em today! Well here's the wall done:
With that, let's get to work. So you want giant string art on your walls, eh? Good choice  make that... great choice. This is 50 times easier than it looks, and it comes out fantastic. You can also change it whenever you want with very little time & effort. Estimated cost, maybe $10?

You'll need:
Nails -  I recommend something longer than an inch, with a head. (A friend of mine used colored thumb tacks and that worked well too)
Hammer
Scissors
String - Yarn gives a thicker look, embroidery string is a thin look. For this tutorial, we used yarn.
Pencil
Push pin
Lite Algebra
Good music
Step 1: Find yourself a blank wall. We've all got 'em!
Step 2: Draw Your Circle.  Here is where your algebra can come in handy. There are two ways you can approach this. The first & easiest way, is to just decide how big you want this baby. For the example let's say 4 feet wide. So, our radius, will be 2 feet. Tie a piece of twine (any non stretchy string) to a pencil. I chose a pencil that matched the wall, hehe. Measure out 2 feet from the pencil, and tie the twine to a push pin. Still with me? We're almost there! Push the pin in the wall where you want the center of the circle. Pull the pencil and twine nice and taut, and lightly draw your circle. A good tip is to hold the pencil straight towards the wall, not at an angle. See look, here's a blurry picture of me getting my circle on:
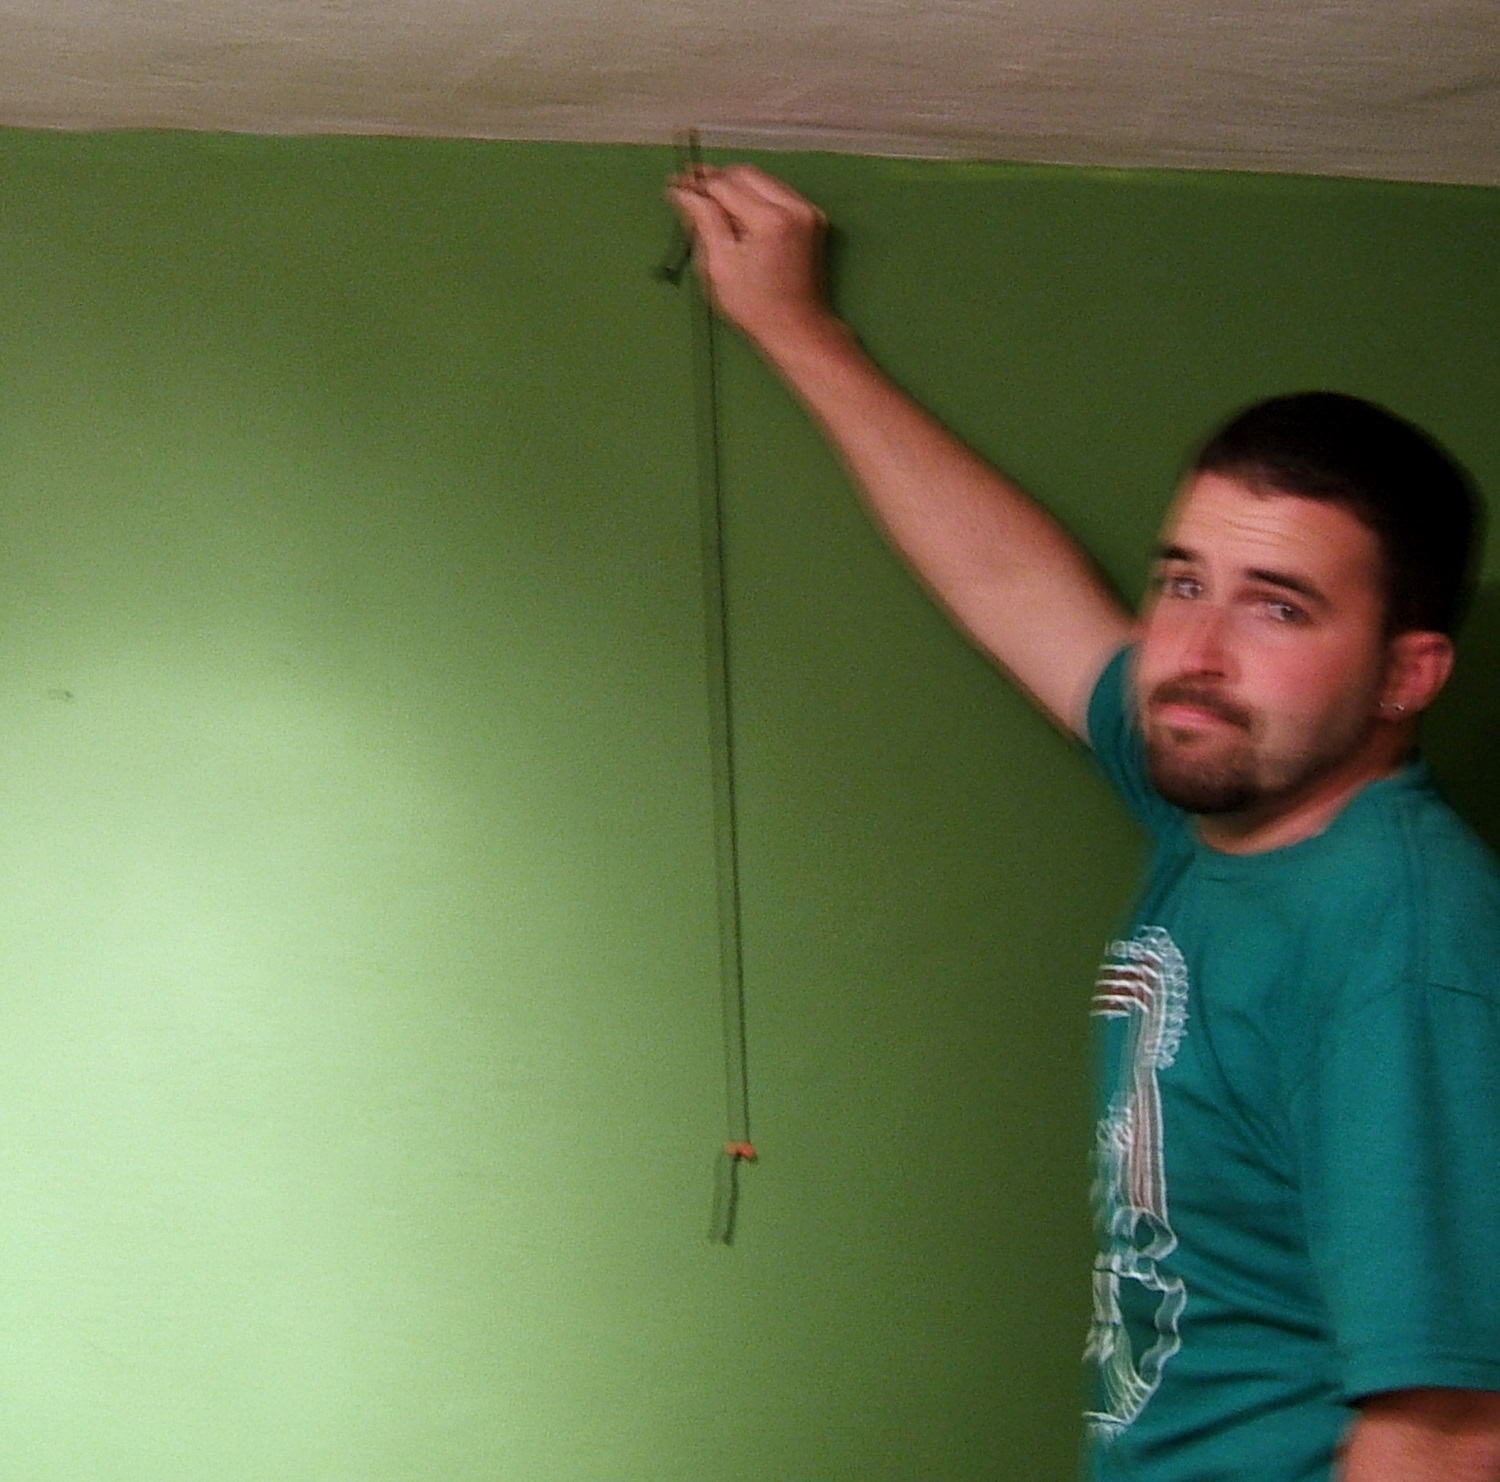
Not the best picture, but it was dim lighting in there! The other way to draw a circle only applies if you need an exact amount of nails for your pattern. I generally advise just winging it, but some people think I'm nuts. So here's the other way, that makes you feel like those 8 years of algebra can finally be put to some use. I know, this is super long winded, but I promise the rest will be nice n' breezy.

OK - nerd alert, here we go: Using the equation Circumference = 2*pi*radius, we can get some fairly accurate specs. Brings back memories right? I know... Let's use the same measurements as circle 1. Let's say you want exactly 80 nails or something. We basically need to know how far apart to place each nail, so we need to find the circumference. Our radius was 2 feet, or 24 inches. Plug that in and solve your equation. C=2*(pi)*24, pi is about 3.14159265.  This gives us a circumference of 150.79 inches. Divide by number of nails (80), means place a nail every 1.88 inches. Phew! So what does this all mean? If you draw a circle with radius 24 inches, place your nails that far apart on the line. Another way to work this would be to do it backwards, decide how many nails you want and how far apart you want them, get a circumference, and solve for radius so you know how to draw your circle. Ok, enough-enough! Let's move forward....please!

Here we drew our circles and hammered our nails in.  We measured for the larger and we winged it for the smaller. I think weird shapes would be really fun too.
Look at that! We've begun. Choose a nail, tie your string and just play with it. For this pattern here, we just crossed the circle over to a nail, wrapped skipped one wrapped, then went back up to the next clockwise nail, and wrapped.  It's so much easier to do then it is to explain, you'll see. Play with it.
Keep the pattern going and stop whenever you want, or continue until it completes itself. The wonders of math make it come around to nail #1 sooner or later. We stopped a little early here, because the open space is nifty.
Who doesn't love a good close up?
The baby was a total wing job, and it came out fantastic. You can see we are just zig zaggin it...
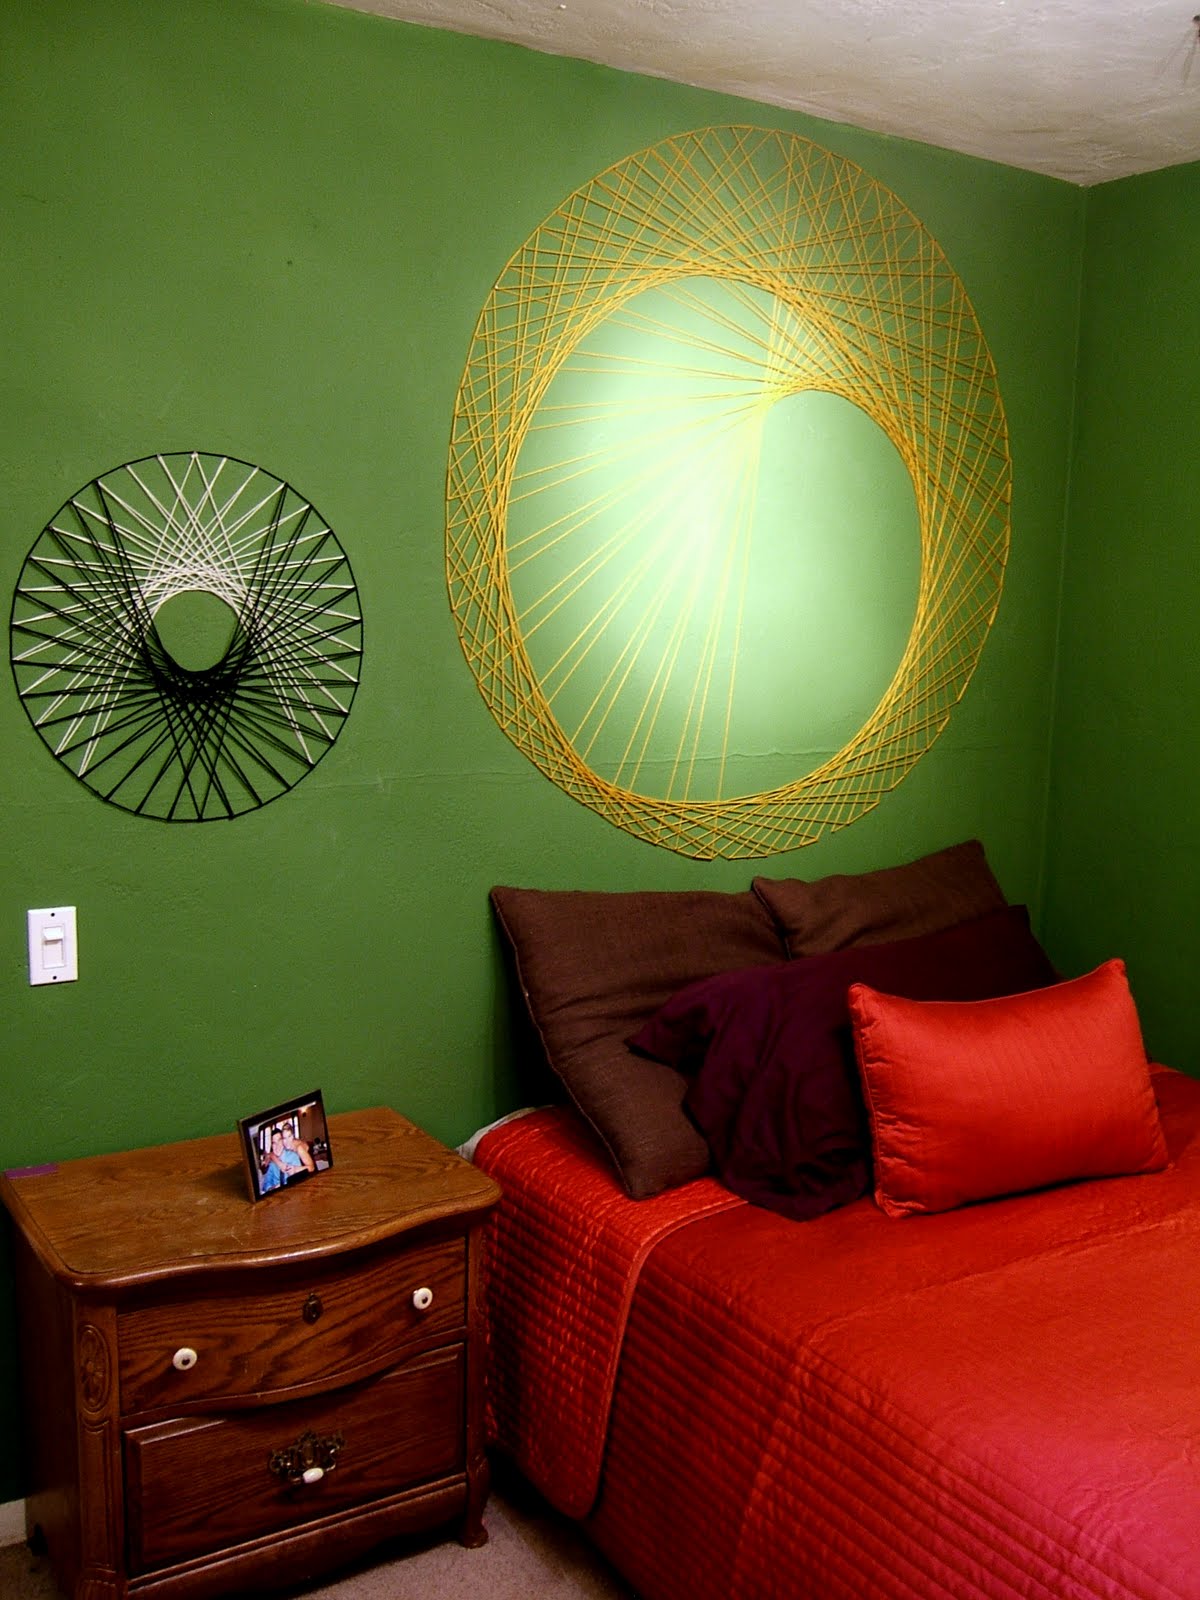
Look at these two:

There you have it, another tutorial. This is a personal favorite. I love it so much, I want to do it right now. Maybe I'll beg Ralph to add a third - haha - a third circle would actually look really nice here!

Good luck with yours, remember, it is much easier than it looks, but we don't need to tell too many people that - it's more fun to just have your friends think you're some kind of math magician. Have a wonderful day, and if you embark on a string art, I'd love to see & share your photos!

Post a Comment

Monday, April 25, 2011

String Art

Once upon an apartment, before I was allowed to paint, I had a fairly large bedroom with a not so fairly large window.  Bottom line, I had enough blank white walls to go around. I had a good amount of art, but I really craved something big and different. String Art. Yes, the lovely 1970's string art. This was the perfect solution to my problem and it was fairly easy. I plan to do a tutorial on it soon, but for now, I want to show you some really awesome spins on string art. These have a more modern feel, and if your looking for something cleaner than yarn (yarn tends to get fuzzy and bulky), swapping it out for embroidery string costs a little more but looks really really good. Here are some neat pictures I found, with links to more info:
 Now this one (above) is actually done on a piece of wood vs. the wall, which is a good idea if you want to keep your finished work. This picture is from Threadbanger's Decor it Yourself.
 I LOVE this one! I've been trying to find the patten you would use to get such a fractal like design, but I think it's an isosceles triangle. If you find more info let me know. I love how it complements the red couch. Here's the link.
 I'm pretty sure this is the one I'd like to do somewhere, ASAP. I love the tree. This is different than it's geometric brothers, but it's very striking against the green wall. This actually has a full tutorial, and it only uses thumbtacks & yarn!
This fella did an awesome job, again with that pattern I'm looking for. I read his is out of yard, but it certainly looks like something thinner. This picture was from a post on Yarnia.

There you have it! A little inspiration for the weekend. Look around you and see where you can cram some art, and let your creativity do the rest. There are so many different shapes and patterns you can do, from geometric, to random, to actual shapes. Seriously, do some google image searching and you'll see things range from stars and flowers, to owls and people's silhouettes. Wild stuff. Have a great weekend!

Post a Comment

Friday, April 22, 2011

Japanese Rising Sun Coffee Table

Remember this table? Your standard, run of the mill table... I had a LOT of ideas for it, but as a spur of the moment decision, I went with the rising sun. I'll let the pictures do the talkin'


Here's how it was before. I think it's a lil better now.
Thanks for checking out the update on my table, finally! This is up for sale in the shop, message me if you would like to work something out. Have a good one.

Post a Comment

Thursday, April 21, 2011

How To: Fabric Hoop Wall Art

Ah yes, another tutorial! Special thanks to Ralph, for having the wall space and needing an art project.  He had this sheet from when he was younger, and really liked it but... well he wanted a different look. I suggested embroidery hoops, and before I knew it he showed up with 8 in 4 different sizes.  This is a super easy way to make some really cool wall art. Be prepared, some of my pictures are a little blurry... but you get the idea! 
Ok, step 1:  Find yourself some fabric. Anything. Sheets, fabrics, quilting squares, old band shirts, anything. Then get yourself some embroidery hoops. These babies are like, under $2 for the largest, and come in many sizes.  Lay your fabric choice out and start throwing your hoops all over it. Look how nifty:
Good job! Now, it's a lot easier to avoid cutting the carpet if you can lift the fabric a bit. But you don't want to lose all that positioning work you did! Enter scene: Sharpie marker. Draw some quick circles around your choice. We did about a half an inch.
 Start cutting. I have a special pair of scissors just for fabrics. I wrote fabric ALL over it so no one would ever use them for anything else. Why? Because after 9 years of ownership, those puppies still cut through fabric like butter. Creepy that we are cutting the throat in this picture. Oh well!
 That's my rug showing through.
 Your circles are cut, fantastic. Loosen your embroidery hook and remove the outer ring. This is a total carpet activity by the by.
 Now take the matching circle size and place it over the solid hoop. position it as best as you can.
 Take the loose hoop and gently push it over the other hoop. Keep in mind that you'll more than likely hang these hoops by their clasp, so remember which side you want up.  Give the clasp a few spins to tighten it up. Don't worry about loose spots in the fabric, we're gonna tighten these soon.
 Just how soon? Try now. Look at that! Flip the hoop over, and gently start to tug your fabric through. Don't tug too crazy, you don't want distortion. Just, you know, make it nice looking.
 Tighten that clasp all the way. See, he was tightening so incredibly fast that the camera couldn't keep up. So blurry from the fast tightening work.  Amazing!
 There she is! All done. Wait, no we aren't. We are pretty much done here. Now take your glorious fabric scissors and cut the leftovers off the back. I didn't take a picture because, well I forgot, and no one needs a picture of that anywho.
 Repeat your steps and you have an adorable lil family:

 Remember old cut throat? Looks great now, huh? I love the crown. When he-she was on a sheet I didn't realize how it looks like a row of little smiling candy corns on his-her head. Now it's all I see!
 We totally winged it on the hanging, and that's just how I like it. I think they came out great, and I want to do one million more!
 A few night time shots:

Great work! I'm sure yours came out great too, I'd love to see 'em. Thanks for reading another one of my long winded tutorials, I'll be back with more - don't you fret. Have a great day!

Post a Comment

Friday, April 15, 2011

Better After: One Man Show

I woke up this morning to find many a sweet comment (thank you!!) on the blog here, and learned that I'd been featured on one of my favorite blogs, Better After. Lindsey of Better After did an article on me yesterday and featured lil Cobalt & Cozzy end table.  So here's a big thank you to Lindsey and her kind words, and for the rest of you, head over to her blog and subscribe - it's really fun (and inspiring!) to see all these daily transformations from "drab to fab".  Haha, OK I know that was really cheesy and cliche to say drab to fab, but I can't resist some good rhyme time (boom! another one!) Have a wonderful Friday!

Post a Comment

Friday, April 8, 2011

How To: Framed Vertical Succulent Garden

I saw these recently on Ready made and wanted to drop everything and start making them. Of course, it had to go on the "to-do" list, which seems to grow faster than I can keep up with! Oh well, this one's a winner, and would make a great gift - especially now that summer is coming! The project was featured in the Ready Made 100 contest. I absolutely love Ready Made, just about as much as I love instructables. Anyway,  Here's the tutorial: Framed Succulent Garden.

 Here is another version from Better Homes &  Gardens, done in a wreath style. I really like this one, it's nice to see wreaths around when it's not the holidays. Tutorial aqui!
 That's what I've got for today, have a great one!

Post a Comment

Thursday, April 7, 2011

Two Tiered Cobalt & Cozumel Table

Well, she's done! I think Cobalt and Cozzy came out pretty good. I started just knowing I wanted to go the route of dark blue, and I think the warm weather over the weekend inspired me, and this piece just went tropical. I couldn't help it! I had a few different ideas, and I was even going to do a black eyed susan side view silhouette on the top, but refrained. I still wonder though........

Anyway, check out the pictures:


 Here is the before picture:

Hope you like it, have a great day!

Post a Comment

Wednesday, April 6, 2011

Spotlight: Zipper 8 Lighting

Recently I posted about the paper artichoke lamp tutorial, and shortly after I found Zipper8 Lighting. Oh wow! Allison, of Zipper8, and I have been corresponding and she shared her blog with me, check it out: The 3 R's Blog .

Right now she's in the midst of 30 projects in 30 weeks that revolve around reusing materials, there are SO many creative ideas on there. She also has an etsy shop where you can buy many of the creations she's been making, I love all her lighting!

She has so many great ideas on there, and here you can see she did an artichoke pendant lamp for herself. It came out fantastic! Here are some pictures of her wonderful lamp, and many other pictures from her blog:


The straw lamp blows me away, it's so cute! Reminds me of a Jelly Fish. Have a great day everyone, be sure to check out more from Zipper 8!

Post a Comment

Related Posts Plugin for WordPress, Blogger...

Shareaholic