
Welcome to the next class in the School of Restoration! Today we are going to work on painting a chair in a color fade, or "Ombre" as you've probably seen it. I looked it up, because I'll be first to admit that I had no idea what this word meant. Ombre; "Shaded or graduated in tone". Yep! That about sums it up, and I adore it. I've been seeing this new style all over the place, and I'm really happy about it. When thinking of an idea for today's class, this post came through on Design Sponge featuring Anthropologie's gorgeous ombre bench. If you click over to their site, hang onto your seat - yes - that is a $1500 price tag! Now call me crazy, but I'm pretty sure we can do this for less than $1500. I couldn't wait to try it, and I added a third color too. Here's a look at what we're aiming for:

Materials:
- A sweet chair
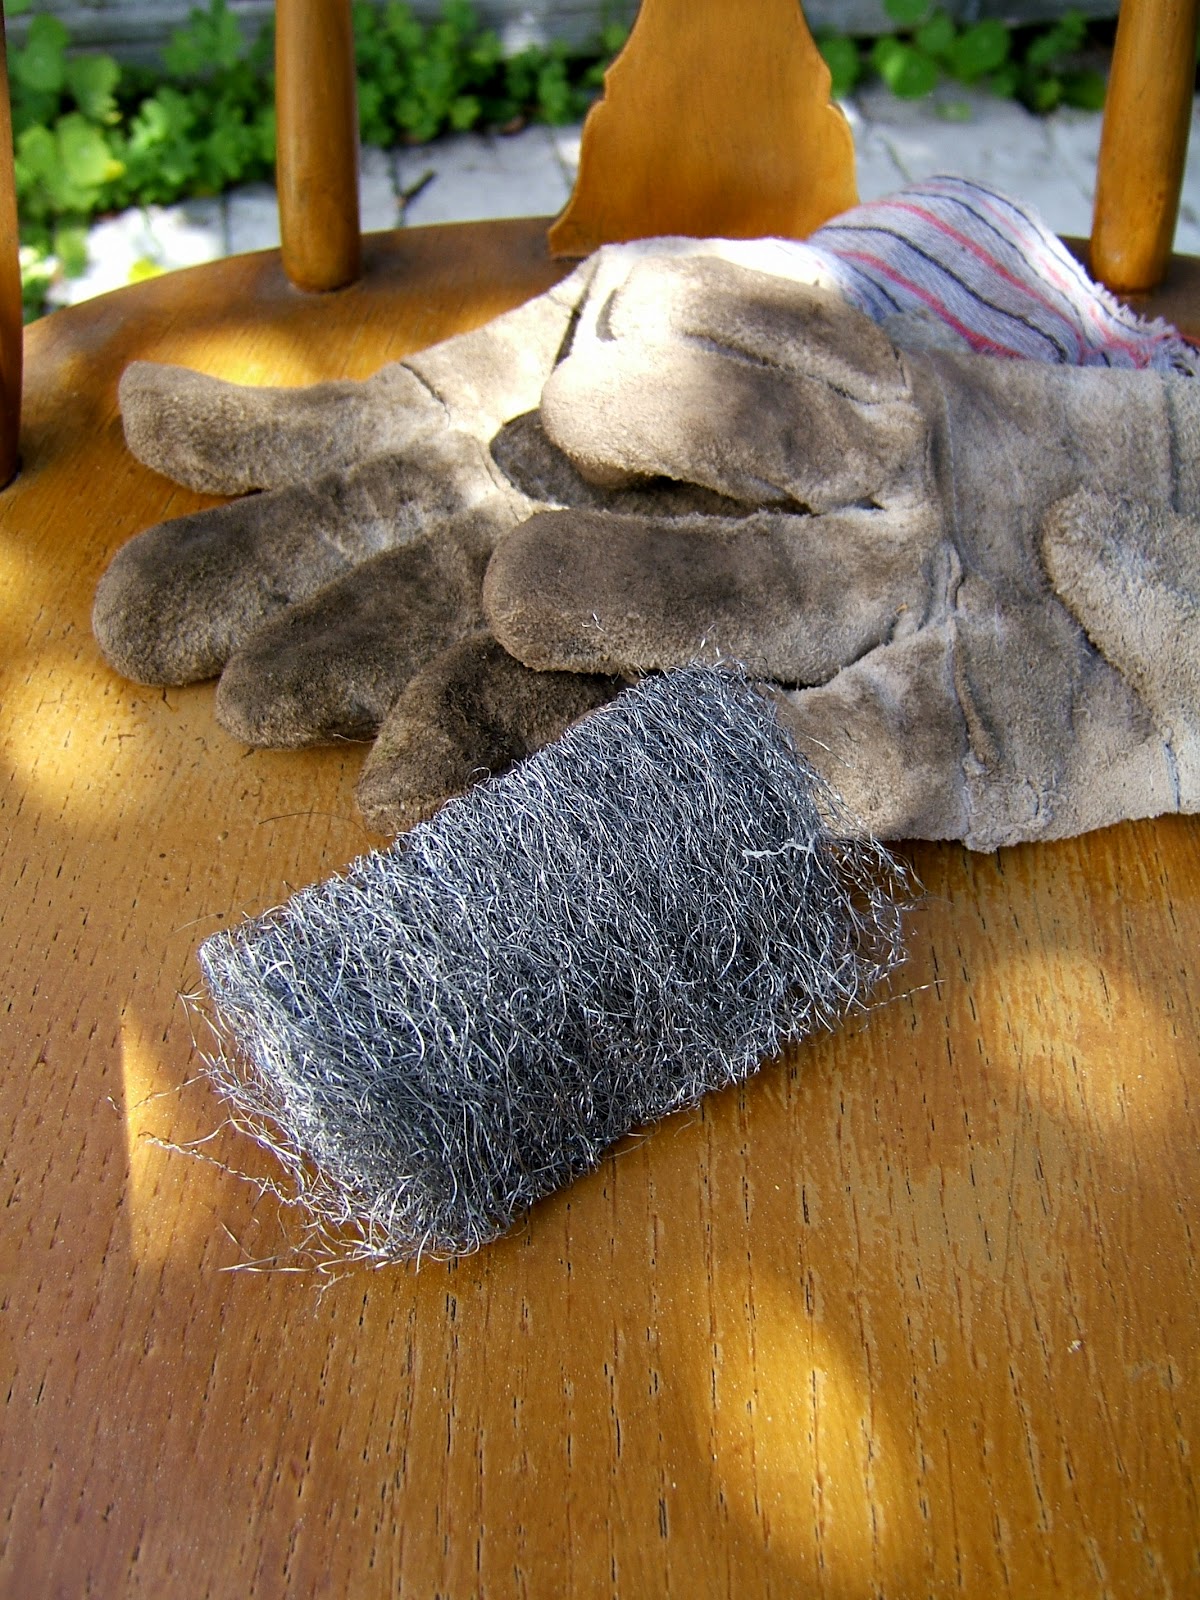
- Steel Wool (paint removal grade) or sandpaper
- Drop cloth
- Gloves
- Mask & Goggles
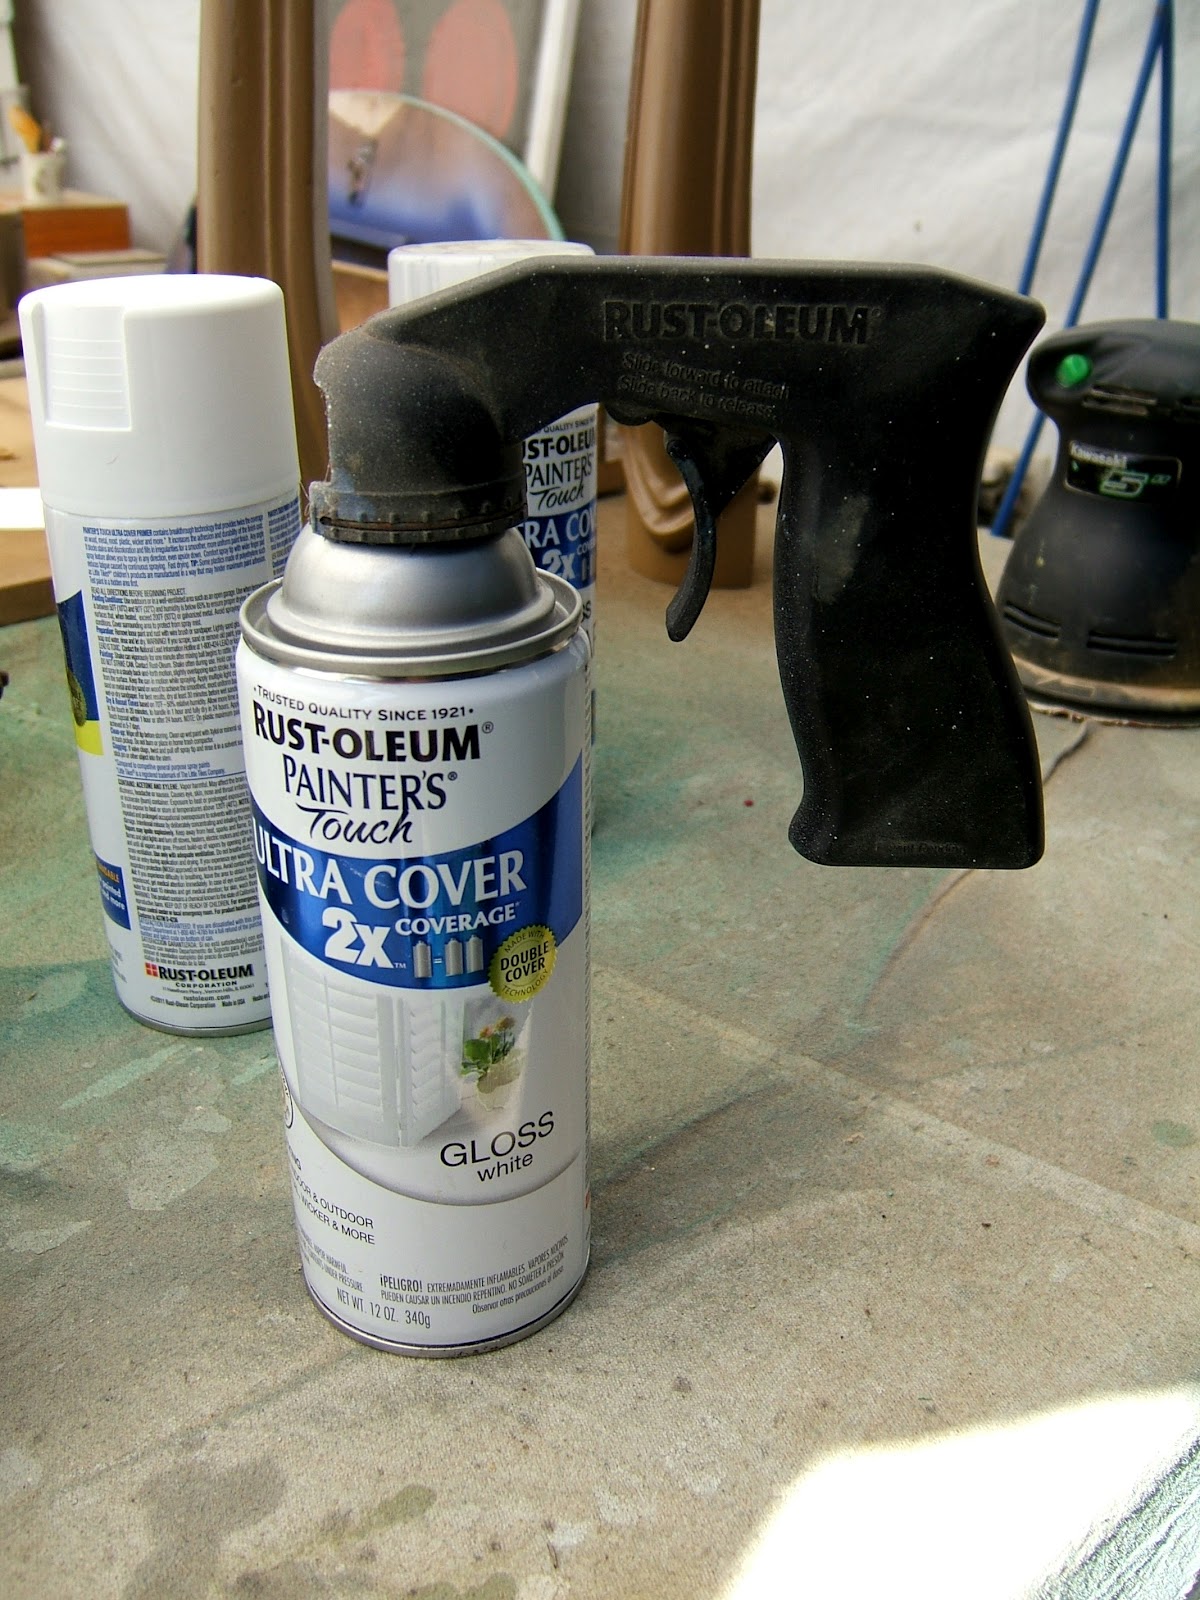
- Spray paint primer
- 3 colors of spray paint - I chose Gloss White, Blue, and Navy Blue.
- Spray clear coat - gloss
- Optional: Sawhorse, Electric Sander & Pads, Spray Paint Trigger


There's
a look at my tools. Not much is needed! When shopping for spray paint, I
look for the kind that says "2X coverage" or "extra cover". I
definitely notice needing to do less coats. With primer, I tend to grab
the one that says it can stick to plastic, even if I'm not priming
plastic. My logic, is that if this stuff can stick to a smooth plastic
surface, it'll stick to anything. And that's what I need! The steel wool
is "paint removal" grade, which I had on hand. Steel wool is great, it
lets you sand surfaces very very gently.


Scratched
up enough to hold the primer. Now start priming! Remember; thin
coats. You can re-coat a few minutes apart too. Read your brand of
spray paint's directions. Grab that mask and goggles! I forgot to wear a
mask during a blue coat, and ended up with blue nostrils. Lovely. Went over fantasticly in public.
Side note here: Ever notice that the directions actually say "Re-coat within 1 hour or after 24 hours"? I didn't! I would just paint on my clock, and now and then I'd get these weird bubbles. After a phone call to their help desk, they pointed this out. So far playing by the rules has really helped!


Once satisfied with the top color, move onto the blue. Take a look before I explain:

So my goal here was to get the middle third in my royal blue. Focus on the getting the center of that section solid blue first. You'll
notice the over spray is already starting to do the fade, all by
itself. Just focus on that center now, back and forth, thin, thin
coats. Here's a close up of the seat, notice that I haven't gone up or
down the spindles yet, I'm just focusing on a solid blue seat.

Here's
where things get fun and creative. If you want, practice this paint
job on cardboard first. Though by now you probably have a good feel for
the behavior of the paint, since you painted the seat. In little
spurts, just start spraying the spindles, moving quickly upwards and
away from the chair. The only real challenge here is trying to not get a
clean line, and keeping your color even heights.
Try
standing back a little, and just pulling the trigger in very short
intervals. See how you are getting that cloudy look? Great. Now you
can decide how far up and down you want this to go. I started low,
because I had to keep adjusting my heights to get them even, which ran
the color higher up the back! Do the same moving downwards. Remember in the downward direction, to spray past the point
where you want your navy blue to reach. We want the lower white area
to be gone, so spray a good 4-5 inches past where you'd like the blue to
dark blue fade to happen.


So - teacher made a mistake here, and I'm passing this onto you so you don't! I should have flipped my chair before
my third color and done the bottoms of my royal blue. So, I recommend,
after your blue is dry to flip and get that color on there. Or do it
before you do the top of the blue. Either way, just get it done before
the third color. This particular chair didn't need extra protection,
but if yours does, cover areas behind your spray range with cardboard or
paper bags.

Once you are satisfied with your middle blue, do the same technique for your third color. I started at the bottom of the chair, and worked up. Once the area you want solid is complete, you can use the fade technique from above to spray up and away into the middle color. You're almost done!

I used the sawhorse again to raise my work level, but this would work just the same on a protected floor.

So
far, so good! While your chair is drying, give it a good inspection.
See the missing spot on mine? Mmhmm... good thing I checked. The thing
to really look out for here, is to make sure your fades are around the same height as the others. Here we are, complete:


Forgive me, those
ARE raindrops there! I was taking photos the next morning for better
lighting, when it started raining on me! Don't worry - that high gloss
came in handy and protected the chair.


So
what did you think? Not too bad, right? I think you can definitely
tackle this in a weekend, and we most likely stayed under $1500. Not
saying anything bad about Anthro's bench, I'm sure it's great! You have
to love that place, if at least for the amazing inspiration.
Thanks
for tuning in for another class in the School of Restoration here on The
Divine Minimalist. I had a lot of fun making this tutorial and I know
you'll have fun trying it out! If you tackle this project, share the
ombre love and send us your pictures. Share it, tweet it, pin it - it's
always great to see other peoples work!
If you missed the last two tutorials they are here and here, and if you don't know me yet, that's here too. I'll be back next month with another tutorial. Until then - have a wonderful month, enjoy the moment, and class dismissed!
Wow! That's awesome Jesse!! I'm definitely going to copy this! Very inspiring!
ReplyDeletelike ann marie i am going to be your copy cat! :) on something...
ReplyDeleteGreat design idea. Love the color combos!
ReplyDeleteI too love ombre! I recently refinished a kitchen cart using the same style! I would love for you to come link up at my Thrifty Friday Party!! Hope to see you soon!
ReplyDeleteYour Newest Follower,
Rachel
I love this! Can't wait to give it a try...
ReplyDeleteWhat a fantastic take on Ombre! I am not usually a fan of it, but you took it to an entirely new level. I am featuring later today at my link party. Thanks!
ReplyDeleteThanks everyone!
ReplyDelete@Rachel, send me your link! 9redinfo@gmail.com
@everyone else, give it a try, it's surprisingly rewarding. I have a few more in the works, it's very fun!
Wow, the colours on that is amazing - it's gorgeous!! I've got this linked to my DIY chairs post too today, for inspiration!
ReplyDelete