***
UDATE: Guest room? Check.. See the full tour here***
In our guest room, the backside of our wall heater juts in about 4" inches to create this "interesting", off-center box that leaves most people wondering why it's there. My goal? Disguise the heck out of it. I showed you a few days ago the
driftwood mobile that has helped so much, and today I want to share the details of that loverly shelf back there. Here's my dilemma & solution:
Hooray! I'm done. When I first saw this odd area I immediately thought shelves, but I didn't want to have to deal with installing a ton of shelves & L brackets one by one, so I thought up a built in look.
This was fairly easy to make, and will be pretty straight forward in the directions. Don't be fooled though, give yourself a free day to work on this, so you have time for all those little bumps & snags that love to pop up mid-project. You'll be glad you did!
Read on for the basics of building a custom shelf.
First thing you're going to need, is a wall, nook, cubby... any old place that needs some built in shelving.
Measure, and hopefully yours does not have interesting slants the way mine does. Our house was built early
last century, so things have tilted and shifted a bit. Rather than rebuilding the entire house, I chose to work off the corner which surprisingly was level & straight.
For this project you'll need:
- 1x4 lumber, I used about 3.5 - 8 foot lengths.
- a jig saw or tool you feel comfortable cutting wood in a straight line with.
- clamps (helpful)
- sander & pads
- paint
- old rags
- basic hardware - nails & screws.
My plan here is to build a box, then fill it in with shelves. Keepin' it simple. So I measured my width at the
top and bottom of the space, as well as my height, on
both sides.
Round up your tools, and make your cuts. Remember to measure twice & cut once, it's not just a stupid saying - I've caught so many potential mistakes this way! Be sure to account for the top & bottom of the frame, and subtract those from your overall height. Or, if you're like me, decide your shelf will be "floating" and don't worry about it. Floating meaning, my shelf will attach at the sides of the nook and not even touch the floor or the ceiling.
Now I had to improvise, because my workshop is... well, not present right now. It's full of wood and unorganized madness, so I'm on the front deck on a fold out table. In the glorious sunshine.
I used a leftover piece of wood with square edges to clamp together my corner:
This made it way easier to tap a few nails in, then a good solid screw. See here.... tappa tappa:
Hooray! Do that 4 more times. You can see here that the screw is coming up from what will be the bottom of the shelf. This way no one will see it later, I did the same for the top - but of course, from the top of the shelf.
Look what I did, a frame. You'll want to pick this up and run and test it out
BUT DON'T. A thin frame this big without braces is SO not sturdy, and you're screws will probably tear right out. Resist the temptation to celebrate and just start measuring for shelves.
It's good practice to choose the placement of the shelf
first, measure that spots width and
then cut a piece to size. Just in case there are any weird issues with the widths. I ran nails/screws from the outside, again, to hide them in the finished product. Now shelf until you are happy with what you've done, and
then you can go try it on!
Yay it fits! No adjustments necessary. Fantastic. Next, I attacked it with my sander, and I mean
attacked. I wanted those smooth
beveled and chiseled edges that I adore, so I just went crazy on this thing.
Swoon... I love that look! I just leave the sanders edge in one spot for too long and BAM - cute edge. Next, gather up your paint, some rags and a spray bottle of water.
In my brain I saw a whitewashed shelf, where I could still see all the knots and such. And so it was.
A little dab'll do ya, spray your frame with a little water then rub some paint on it. Easy.
Rule of thumb? If it's not spreading well, add water. If it's too wet and thick, rub it off with a dry rag.
Continue around until it's all covered, watch those inside corners - they are drip central!
Done! Now try & be patient, let it dry, and then we can install. Luckily when you do this type of a wash technique, it dries pretty fast.
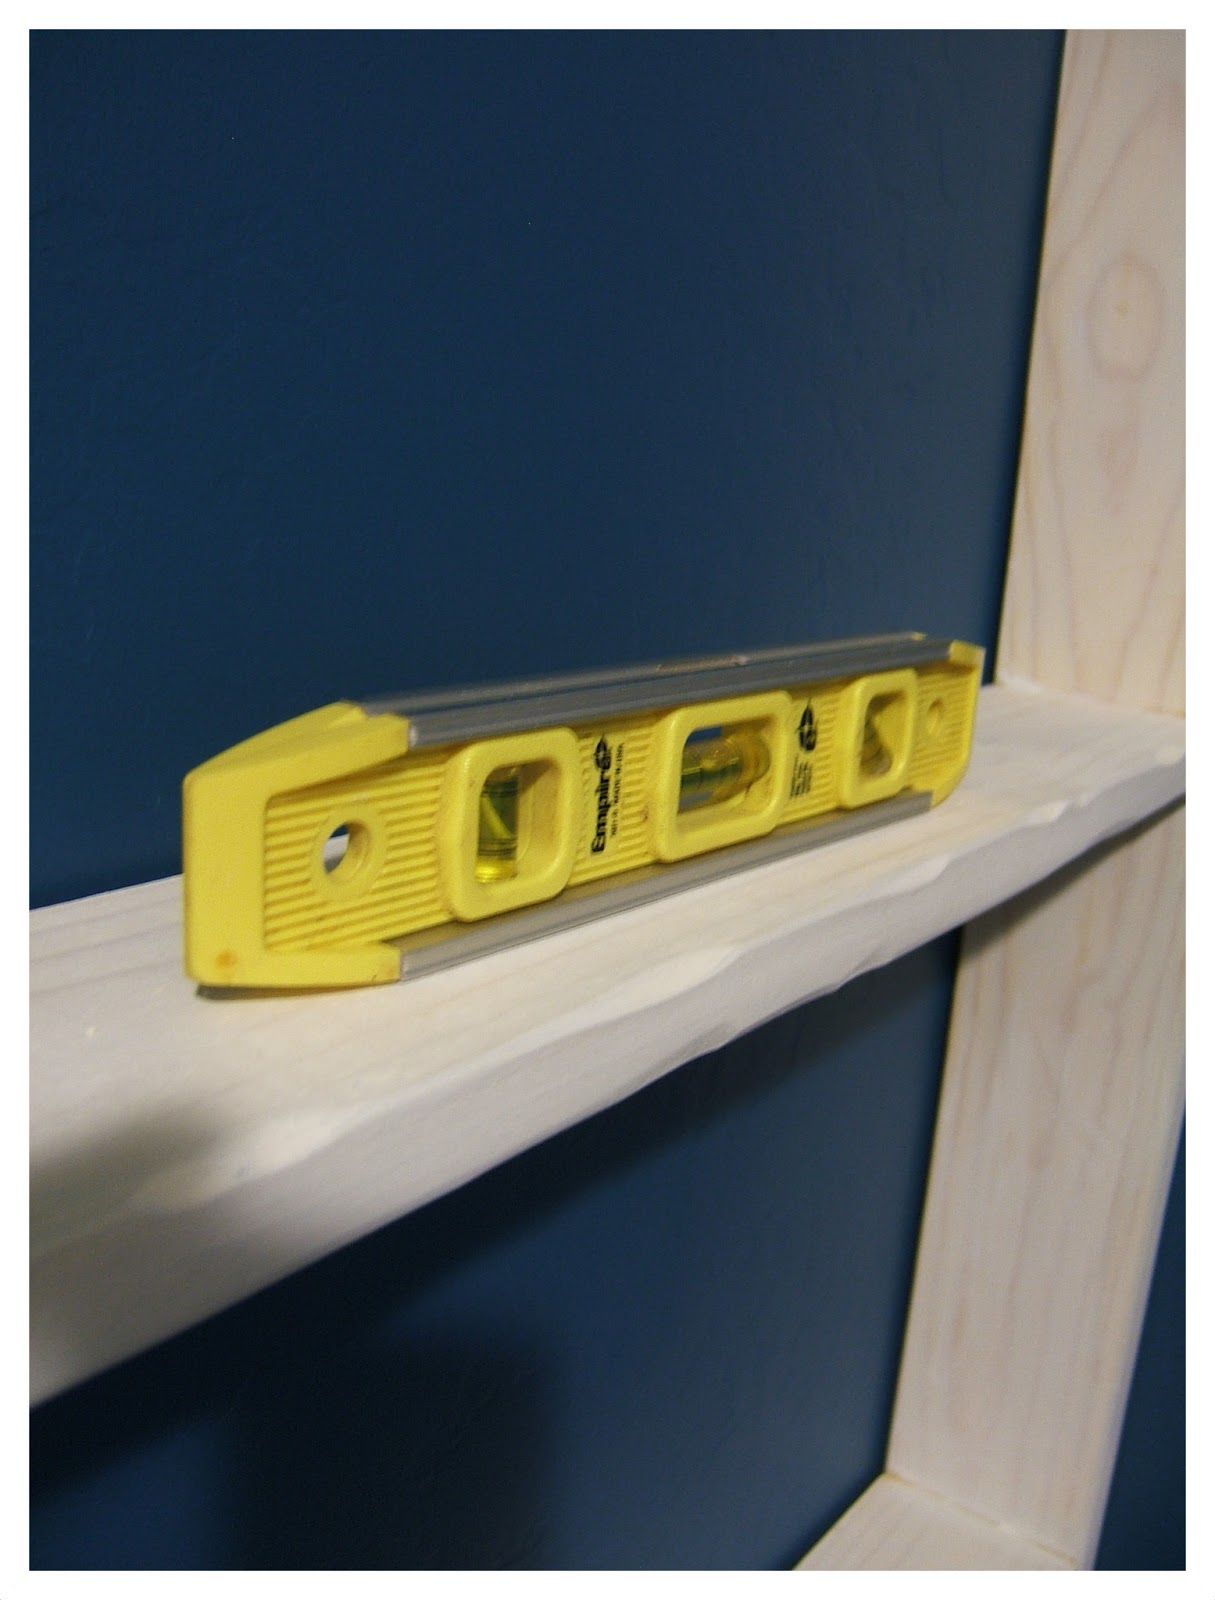
Put your shelf in place, and before you drive screws or nails into the walls, be sure everything is set and level. Have a friend hold it up, mine was so snug it held itself:
Then run a few nails or screws through the sides and into the walls, then if you care, dab them with a little paint.
Then the fun part! Shop around your house for accessories and put it to the test. I think this makes that corner much cozier....
Hey sharp eye! Did you notice the gap on the left? Yep - told you - crooked house. No worry, I got as close as I could, and to trick the eye I may just put a piece of trim down the whole front. Heh..heh...
Beach ball!
Ah.... the wine bottles! So - this is super cheese but the plan is to write some kind of message in there, to ourselves though, and keep them in this room until we get the urge to read them. Not sure what to write...but it will be fun to dig them out in a few years, right?
I didn't buy any new knick knacks for this room really, I just went around the house looking for stuff that didn't *need* to be in other rooms, but would fall right into this one. Reds, whites, navy.... this is getting pretty spiffy!
So that's it, fairly easy right? I bet if I had my miter saw when all this was going down I could have churned it out in an hour, instead this took me about 4-5. Dry time included... What do you think? Do you have an unused nook or weird architectural mishap that needs a little shelf time? If you think you couldn't do it, I think you're wrong - give it a shot! You'll definitely learn a lot, regardless.
Have a great weekend, get outdoors if you can and soak up some Vitamin D!
Au-revoir, or however you spell it....
-Jesse
Related Posts:
Post a Comment


Love it-came out awesome Jess!!!
ReplyDelete