Hey! We're back from camping and I'm just now getting caught up on all my emails! (
Thanks for writing, love hearing from you guys!) First thing that needs addressing, is our deck.
I love our little front deck, it's so cozy now! And sitting out there the other morning I realized -
hello! - I never shared the rest of the details of my projects from the
Front Deck Tour. There aren't too many, just a few little things some of you might be curious about. Here's one of my favorite places to be:
It's a cozy zone, right off the kitchen. And while it's always growing and changing, I think we gave ourselves a great start in the right direction. I of course wanted to keep the costs low, so a lot of the efforts to make everything match were of course DIY. Here's a quick tour of the details, all things you can easily do at home for your own deck, or yard, or whatever.
I knew the colors we wanted were blues, with accents of orange & yellow since this is all totally visible from the kitchen. To make it look like a coordinated effort vs. sort of thrown together, I used the pots as a way to tie it all in. Mainly in this zone:
This area kind of sums it up, right? The main colors are here, and because things outside get that
less than new quality so quickly, I figured - if we run with that distressed look we can let these things age gracefully. Plus it's way easier than having to repaint every year! The plants look small now, but once they are lush and overflowing this will really pull together. The pots were a Saturday morning quick project. Pretty straightforward:
I keep these Martha Stewart Paint sample around. They are great, the brush is INSIDE, so it's easy set up and clean up. Well, there isn't any clean up. haha..
I collected all sorts of things to be potential planters. Affordable clay pots. Thrift store salad bowls. A pasta strainer. A basket. Anything that could hold hold soil and hopefully had a little drainage. Then a cup of coffee and I just did whatever, and it was fun.
The terra cotta's are my favorite. I kept the top band clay, I think it looks neat. This next pot was on sale at CVS of all places, for like $7.. I should have bought 3! I jazzed it up with paint and a little jute.
The
most important step is you've GOT to seal at these pots with minwax polycrylic, or any other water proof sealer. Clay is extremely absorbent, and your paint will chip off if you get a bunch of water under it. Outdoor paint eventually chips off anyway, but this extends the life tremendously. Couple coats, the whole thing. Hello, salad bowl succulent:
Oh did you spy that little orange candle holder? $1. Yep.......goodwill again. Used to look like this:
That creepy cat statue is for another post for our living room. It doesn't look like that now!
Moving on, I found this rocker at a goodwill, and was perfect for a weird corner on our deck:
Not really my style, so I gave it the Ombre paint technique from
this old tutorial.
Ralph and I nicknamed this Rocker "Candy Corn Sunrise":
For good reason! Totally looks like Candy Corn. That table to the right was ALSO a thrift store find ($5!) and was made of glass and metal, so I knew it could live a life outdoors:
It was hard to paint over the brass, (
fake brass I mean) because I kind of liked the shiny-gaudy quality.... but I knew it would look a little out of place by itself amongst all these colors, so to the spray paint it went.
Paired with an old colander painted blue & full of chives, a dollar store salmon plate as a catch, and next to one of the
Antique Crate end tables. For some reason those chives are growing SO slow.... but eventually it will be overflowing. This would also look great pouring over with lettuce....
I wanted some more planters for around the deck and used a simple technique to get the exact sizes I needed. I didn't want to hunt around, so I just got a bunch of lumber, and went crazy. Specifically, this tall corner behind the lounge set:
It's about 3 feet tall, give or take, and was built using some 2x2's and some cedar fence posts. Cost me under $20, and fits perfectly. Here's a quick how to that you can apply to any size planter.
It's essentially four corner 2x2's connected with cedar planks. Cut your 2x2's all to the same length (height), lay two of them down, and start connecting:
Continue until you've built two of these: Note, I left the ends undone to later act as feet.
Then, stand the two sides up, and repeat. If you were going for a square like I was, remember you need to measure your finishing sides to be a little longer, to account for the thickness of wood that will stick out on your first two sides.
You can see how easy it would be to make this into a rectangle, just use longer sides! See how the feet are working now?
For securing I did a combination of screw and finishing nails. Usually the end two were screwed in (easier to hold by myself!) and then I filled in with nails. It's a good idea to line up your pieces first to make sure they all fit.
Once you've done all four sides, flip it over and start measuring the bottom:
I used more planks cut to the matching width, and a notch cut out of the corner to account for the legs. Then flip it over and seal it for a longer life. Again, minwax poly is my favorite.
I had leftover scraps and was having fun with the miter saw, so I added these little tops:
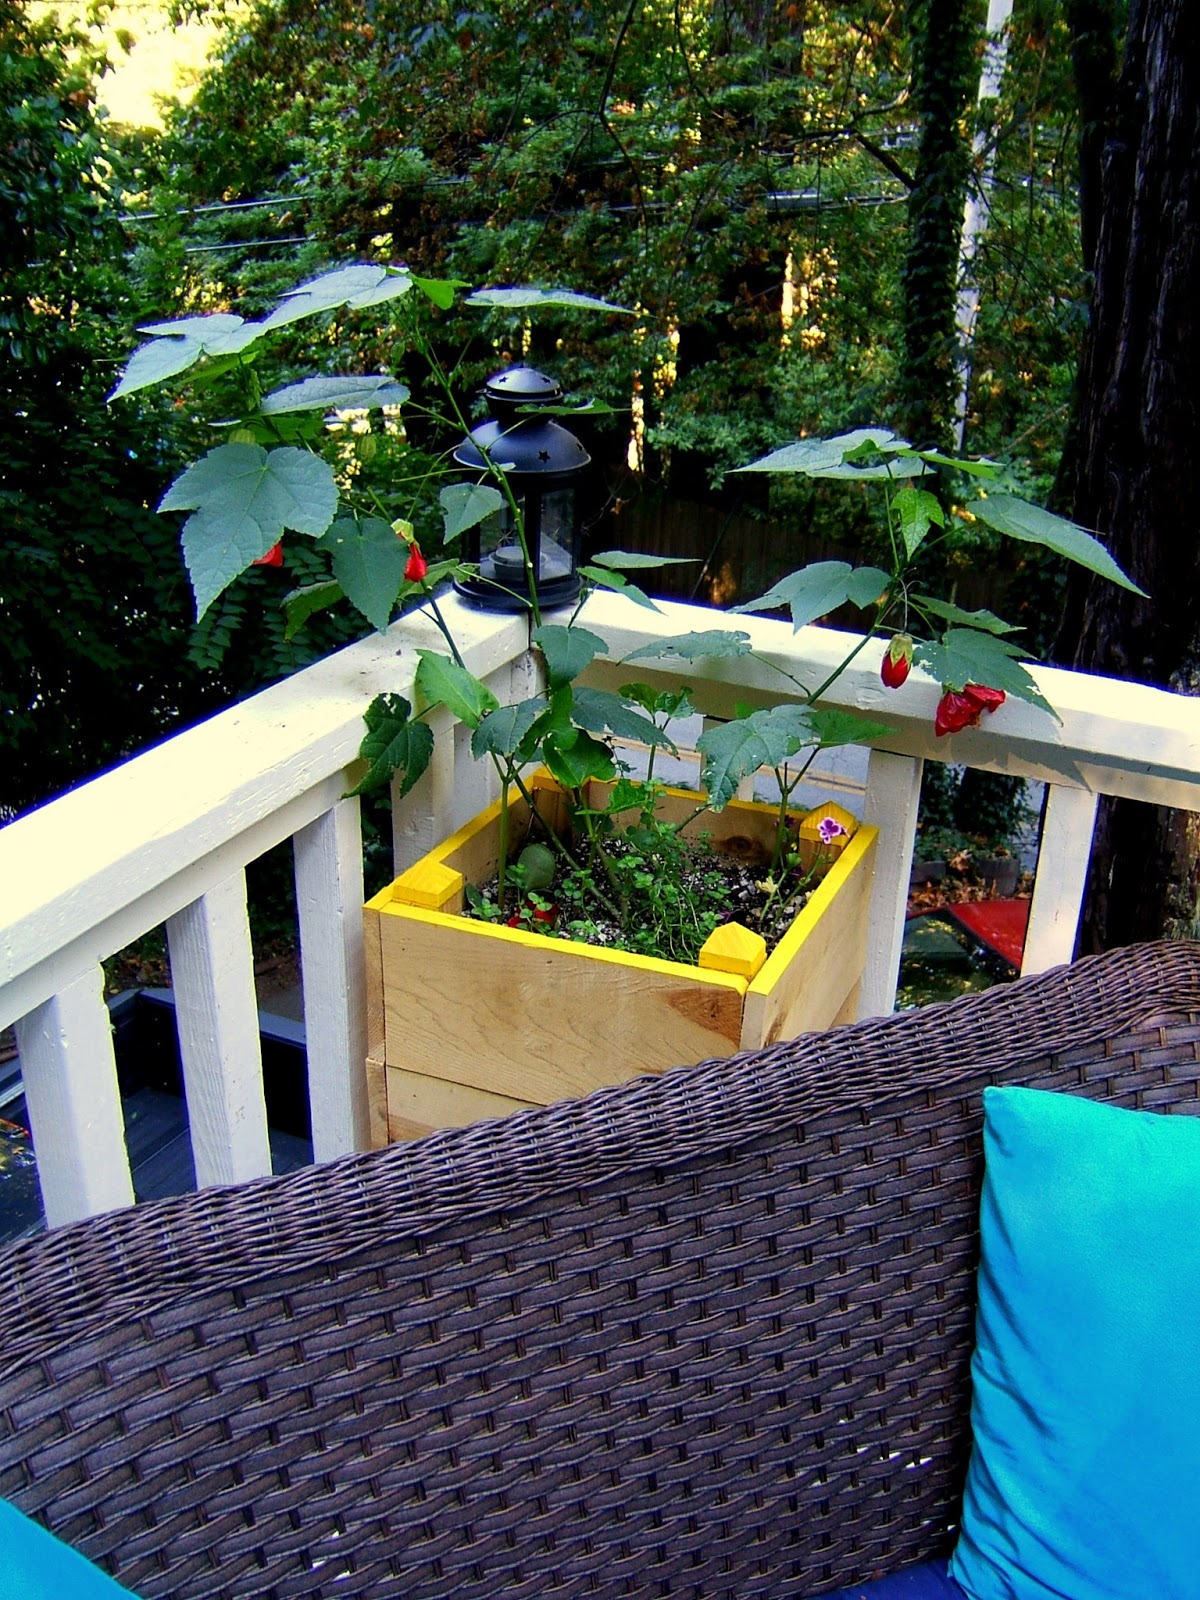
That's it. The same technique was used for the square planter behind the clay pots here:
And the skinny planter behind the crates here:
Hard to see, but it's back there and full of beans.
SO those are the finishing touches on the deck! I added some lights along the side of the house for night time, the fountain give some great ambiance... (someday would like to build a NEW fountain... but that's later)
Today we are meeting with someone regarding our retaining wall... that we have to rebuild... I'm very nervous, I know a lot of work is ahead!
Wish us luck.......
-Jesse
Post a Comment


I absolutely love what you have done. It just goes to show that if you get creative your money can go quite far. And, you are very creative, great job, no, let me say that again, GREAT JOB!!!
ReplyDeleteHave a wonderful week.
Your blogging sister, Connie :)
You have a beautiful porch! It looks cool and inviting! I like that it’s a big porch and you can lie down on the couch with trees around you. It must be refreshing.
ReplyDeletePremier Building Supply
Your front deck looks cozy and beautiful! I love the bright and perky color, and the plants surely add a twist to it. The plants and the décor made up for the lack of paint. I can’t wait for the plant to grow and overflow its lush. David @ DAL Builders
ReplyDeleteOh! I thought we had a lot of paint & color! This was a stepping stone though.. will definitely be trying new things this Spring.
Delete