Google+ Nine Red: June 2014

Thursday, June 26, 2014

Quick DIY Secret Mossy Hiding Pail

Well I guess not so secret anymore now that I've blasted this all over the internet.  Oh well, I guess if you come to my house you'll know this secret spot & head straight to it. 
Good thing for me that I don't keep anything in it! Yea, I've always had some weird obsession with hiding places. I used to hollow out books, just because it was cool. And then I'd put them on the shelf. Empty. I don't have anything to hide really, no gold coins & cash burns a hole right through my pocket.  But, during this fail-fix I couldn't resist the opportunity.  

It all started during that long winded downstairs bathroom redo, one of my accessories was to be ferns. I chose ferns, because that room is "light challenged" and I figured they'd fit right in. Look how they did:
Mind you, this is not a case of not having a green thumb, I have a bunch of healthy plants that will tell you otherwise - I gave this puppy everything I had, and he quit. Fast forward to problem #2 - I used a wood bucket.  Even though I had the fern in a separate plastic pot for drainage (I thought I thought of everything!), and sealed the heck out of the bucket, the water seeped on through.  But whatever, we all have fails & new things sprout from those, right?

I wanted to rush out and buy (see what I mean about the cash problem) something else to go here, but in an effort to try and use-what-I-have-around-here, this is what I came up with. And it's what I should have done in the first place. (sorry lil fern...)

Step 1: Paint the bottom half of the bucket. This was dual purpose, it hides the horrible water damage to the bucket, and looks all color-blocky.  Unsuspecting people will think this was the plan all along - good!
Step 2: Raise up the floor so I don't have to literally fill this bucket with moss.  This is where the secret hiding spot came in at the last minute! I hoard keep all those jars from finished Bath & Body works candles & freeze the wax out (freezing the candle is the easiest way to get the wax out - just take a butter knife to it to crack out the wax). They are super handy, and this one fit perfect:
A little newspaper padding to keep it steady......pop the lid on....
Step 3: Fill her up with moss! This is my favorite moss, it's about $26 on Amazon (find the link here) for a HUGE box of it, but you can find smaller packs too.  I use it all the time, I cover the soil in my other houseplants with it, just to make them even cuter. Because, why not? Back to the bucket:
Done! Much cleaner. I love that fluffy lime stuff. I still get my touch of green in here without having to buy a fake plant, and a hiding spot too. Again - because, why not?
From failed to fixed in like, 15 minutes. And it didn't cost me a thing since I had it all here.

Back to work on the backyard brick patio for me...  enjoy your summer!

-Jesse


Linkies: FacebookPinterestInstagramTwitterSubscribe & of course, Email me.

Post a Comment

Wednesday, June 18, 2014

Backyard Bar Progress

Backyard Brick Patio Bar Progress... say that ten times fast, huh?  We do actually call this area the brick patio, because in our house - there are so many doors (6!) that it's really hard to say where the "back" yard is, this area is more of a side yard. Anyways, a ways back I started a project (you can read about it here) to fancy up this area of our life:

We've learned a lot since buying the house. What looks like a random curve shaped deck surrounding redwoods is actually someone's giant cover up of an old unused jacuzzi. Yep, there is a really old jacuzzi shell under there. They would have gotten away with it if we hadn't seen the pipes coming out the other side, but I think a deck is better anyway. Have you ever owned a jacuzzi? Cha-ching....$$$...hello maintenance!

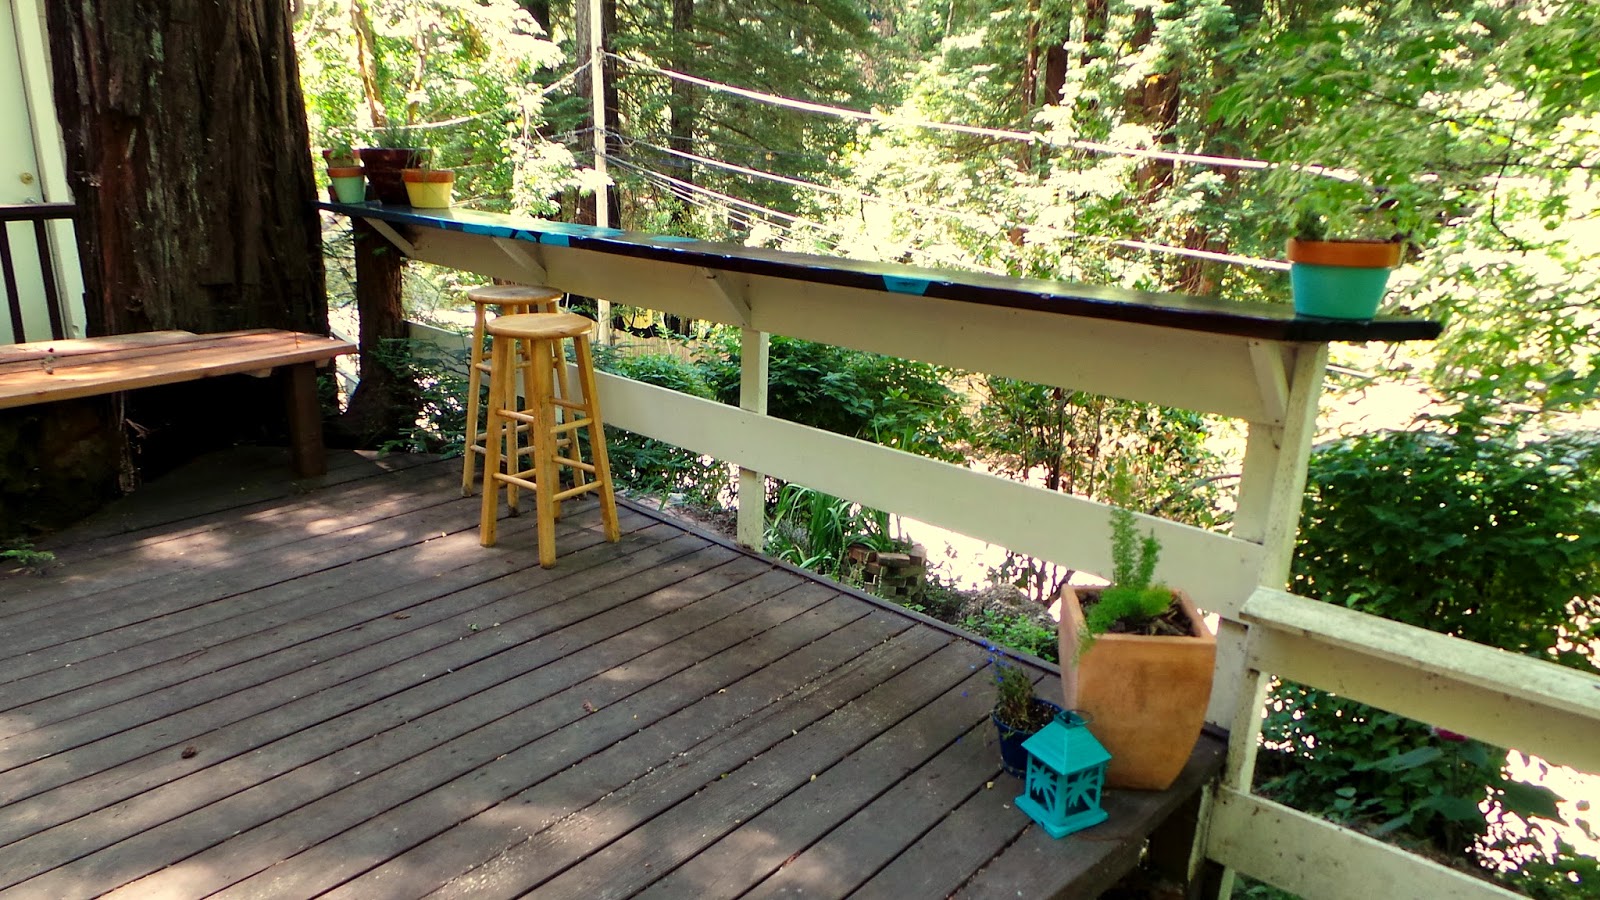
So I'm back with a post to prove that we aren't total slackers and that we've made progress. The bar is up, and here's a fancy play by play of just how it was done:
Lucky for us there was a fence there already, and it was surprisingly sturdy. That was a fantastic shortcut!  We had a lot of extra redwood on hand from our retaining wall project, and decided to just give it a go.  Luckily all was level, and this was pretty much just a cut & attach project.
A little 45 degree angle edge work will protect us from dangerous corners, this is a bar after all & I'm 100% sure there will be drinks around it. Safety first!  If you notice that weird corner, yea.... oops! Saw got a little wild on me, but we'll be beveling the heck out of it.  At least we had, this:
A flat surface!
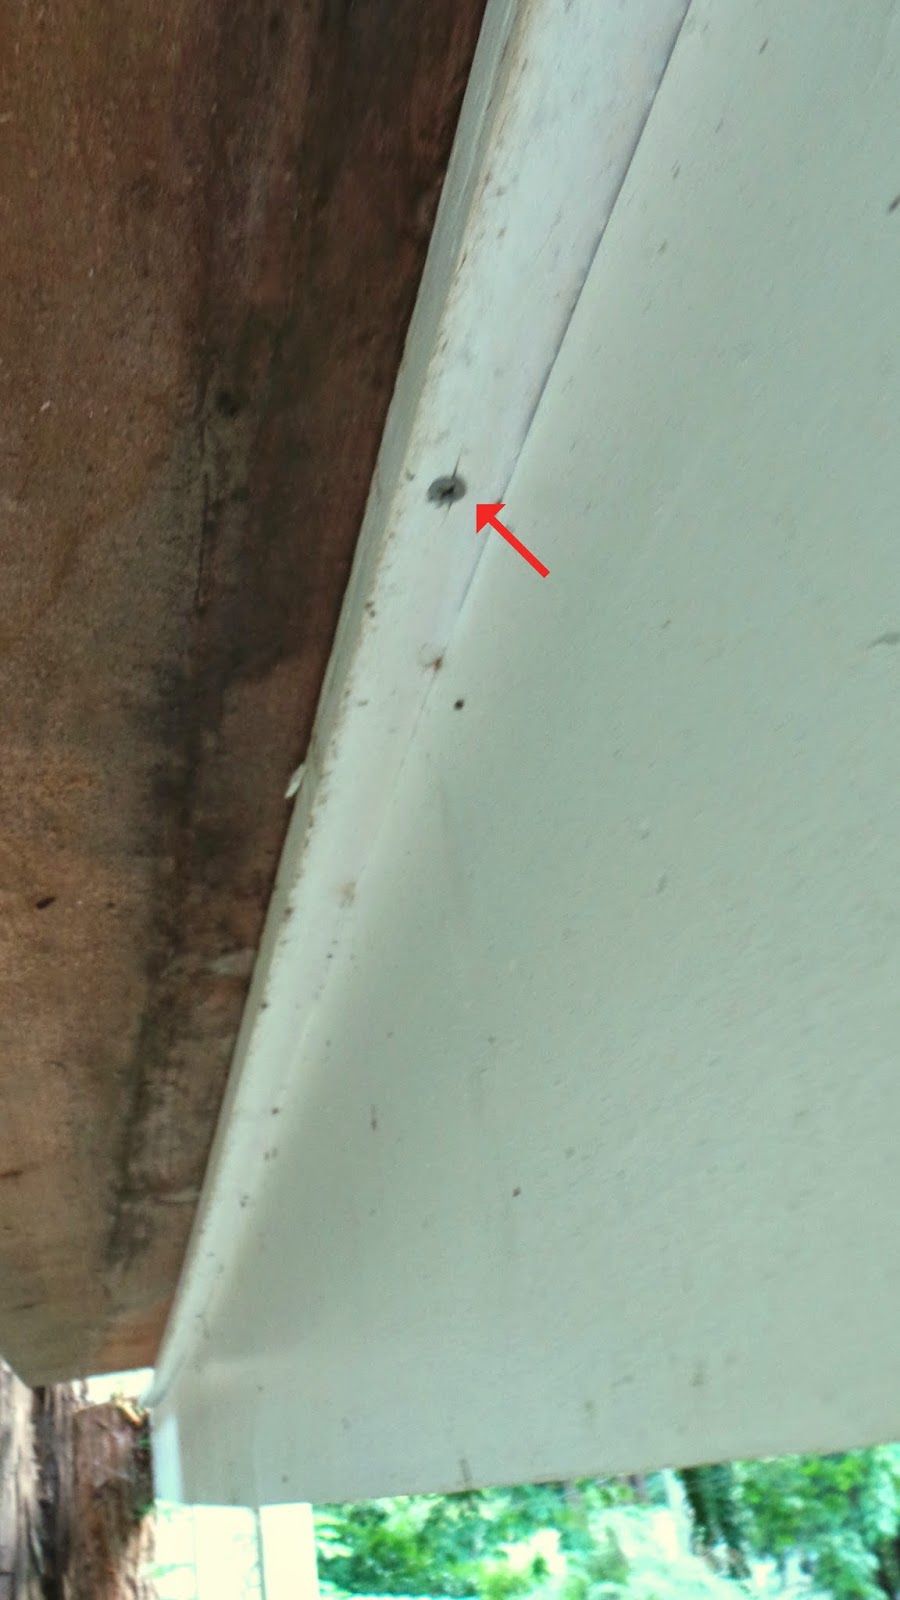
Using clamps (oh and now you get a REAL nice shot of that error area) I secured our new bar to the top of the existing sturdy railing, and drove some standard exterior wood screws up from the bottom:
Yep, those ones.
And up from the bottom, see? Isn't that nice & clean....  no screw holes upstairs. Horrible picture, but it gets the point across.
From here on out it was pretty much a bracing, sanding, staining & sealing issue. Things went surprisingly well, which is lucky for us because we jumped into the project with little to no planning. Sometimes, I gotta say, things work nicely on the fly.  You break out all your tools & supplies, and you just roll with it until you figure out how in the heck you are going to get your end result. 

Bracing: The thing felt pretty sturdy, but I'm paranoid & like I said, it's a bar.  People get careless. We used some leftover 2x2's from our Impromptu Pergola project along with my handsome miter-saw to cut out some brackets.  These are easy, just 45 degrees in opposite directions, attach and feel the brawn...
I love you Miter Saw.
For a while now we've been looking to incorporate one of my favorite hexagon patterns back into our lives, since we gave a friend our favorite Hexagon Coffee table.  (Loved that thing, but we had no spot for it!). This was the perfect canvas, and brought a little contrast to the surrounding green.

We sanded the bar starting with a coarse 80 grit paper, and gradually used finer paper with each layer. 120, then 220. Once it was smooth, we taped our pattern (using this handy hexagon ruler) & painted our design.
So shiny... I sealed it with 3 coats of High Gloss Spar Urethane. (Here's a link if it's new to you) I pretty much just asked the clerk for the strongest stuff ever, and he delivered. This stuff is SHINY!

Close up of Hexy:
After painting the hexagons (and before sealing) we decided to rough them up a bit.  I love the wood grain showing through..
Do you see those lovely beveled edges? Delightful...
Let's stand back....
Here's a sneak peak to the bench we are building on that stump:
A lovely before & after:
So clearly we aren't done, but we're kinda close.  Really I just need to figure out a rug, a gigantic pad for that seat, armrests & backrests (not really sure how that's gonna happen....ha!) and accessories. 

While we are out here, look who bloomed - our ultimate deer proof plant, Clerodendrum:

Thanks for stopping in & seeing our progress, stay tuned - I'm so excited to get this area up & running.  Happy Wednesday!

-Jesse

Linkies: FacebookPinterestInstagramTwitterSubscribe & of course, Email me.

Post a Comment

Wednesday, June 11, 2014

I'm Back! With a Giveaway No Less...

Hey guys! Sorry, I totally took a breather there. I didn't mean to, it's just that May turned out to be crazy busy! Between work, string art orders, helping with a wedding (pics soon, I was so all over the place day-of that I didn't take a single ONE!) & life... May was wild. And fun. Seriously every free moment was scooped up.  I'll sprinkle some of the interesting parts over the blog once I collect enough photos. Muah!

As a result of all that crazy, I don't have a wild & fantastic new project to share here yet (hoppin' back on that to-do list), but I DO have a giveaway!  Ok... so have you heard of Scentsy? I'm sure you have, it's been growing like crazy.  I've seen it around & never gave it much thought because I'm openly a candle addict (Bath & Body Baby!). Until an old friend of mine offered me a chance to just try one out.... so I said why not?


Well, honestly I wasn't expecting much. I figured, "Ok, try it... then send it back". I was thinking it was just another thing to maintain, basically I was clueless.  So I picked a warmer out, (Mission Oak, love that wood grain!) and a few bars of scents.  Once it arrived, we set it up..

Wow. Within about 15 minutes the house smelled amazing! I love that it's a plug-in, I just turn it on when I get home. Boom.  And maintenance? I was wrong... for us, 2 cubes out of the bar (each bar has about 8 cubes) last around 4 days.  Which is perfect because on weekends I usually swap back to my candles, I can't resist that flame....  Plus swapping out scents is easy with Scentsy. Let the wax start to melt, dump it out (bowl is removable) - wipe it off and start a new.

Alright, here's your chance for a freebie - my friend Valerie is giving away one Scentsy warmer + a bar (8 cubes!) to one lucky winner! Any warmer & scent you choose, and there are a lot to choose from. Plus, second place gets 50% off any item in her shop!  There's a few ways to enter, and none are mandatory. So you can do any one you like, or all, or a few, or whatever. Hop over to her page & browse around in the meantime to pick out your fave. (Click here to hop over)

a Rafflecopter giveaway

The winner will be chosen Monday morning, June 16th at 8:00 AM. Good luck!

In the meantime, I'm breaking out my tools, getting my hands dirty, and really getting to work on our back brick patio. It needs some major cute-ifying (new word) & we have a ton of ideas. If you missed the start of this back patio saga, you can read about it here.  Here's the photo I posted on facebook a while back that sort of shows the direction I'd like to take this area... who knows though, it could change any minute knowing me. :)

Have a great one, it feels good to be back!

So, Disclaimer style, this isn't a commercial.. I wasn't paid or compensated to write this, and I'm not becoming a Scentsy seller either! Hehe.  All these opinions are my own, just love to offer a giveaway to you guys when I have the chance and Valerie was nice enough to offer.  Yay!

Linkies: FacebookPinterestInstagramTwitterSubscribe & of course, Email me.

Post a Comment

Related Posts Plugin for WordPress, Blogger...

Shareaholic